Monday 23 April 2012

Steel Rule Die Cut Flower

Here is a card that I made using a steel rule Bigz die from Sizzix. I first adhered several strips of "Be Creative" 40 mm double sided adhesive to a piece of thin white card stock. I attached strips of ribbon scraps in layers to cover the surface of the card stock. Using my Cuttlebug, I cut the ribbon covered card stock into 6 hexigons with the Westminster steel rule die. I wasn't sure what shape I wanted to use the hexigons to create. I guess the bright colours of the ribbon made me think of flowers, so I arranged the shapes into a flower and added a centre with a couple of paper flowers and a button. I mounted all of these pieces onto a square of black card stock and trimmed it down to leave a narrow border of black around the shape. I hand cut a few leaves from some patterned paper scraps. After trying a few different colours of background card stock, I settled on the deep teal blue shown in the picture. I mounted this on a light aqua square card.

Until next time,

Sunday 22 April 2012

Window Card

I'm thoroughly enjoying the sessions in the Online Card Class, "A Cut Above". Some of the cards demonstrated featured windows cut out using a die. Here is my attempt at this method. I know it is difficult to tell from the picture, but the central dark brown area is attached to the inside of the card and is seen through the pink layer of the card. I stamped my sentiment on a die cut, then layered several of the same shape to create a 3D effect. All of the layers were cut using a Nellie's multi-frame die set.


Until next time,

Wednesday 18 April 2012

Doodling

The Less is More challenge this week is to create a one layer card with hand drawn doodling. What a fun project! Here is my entry:


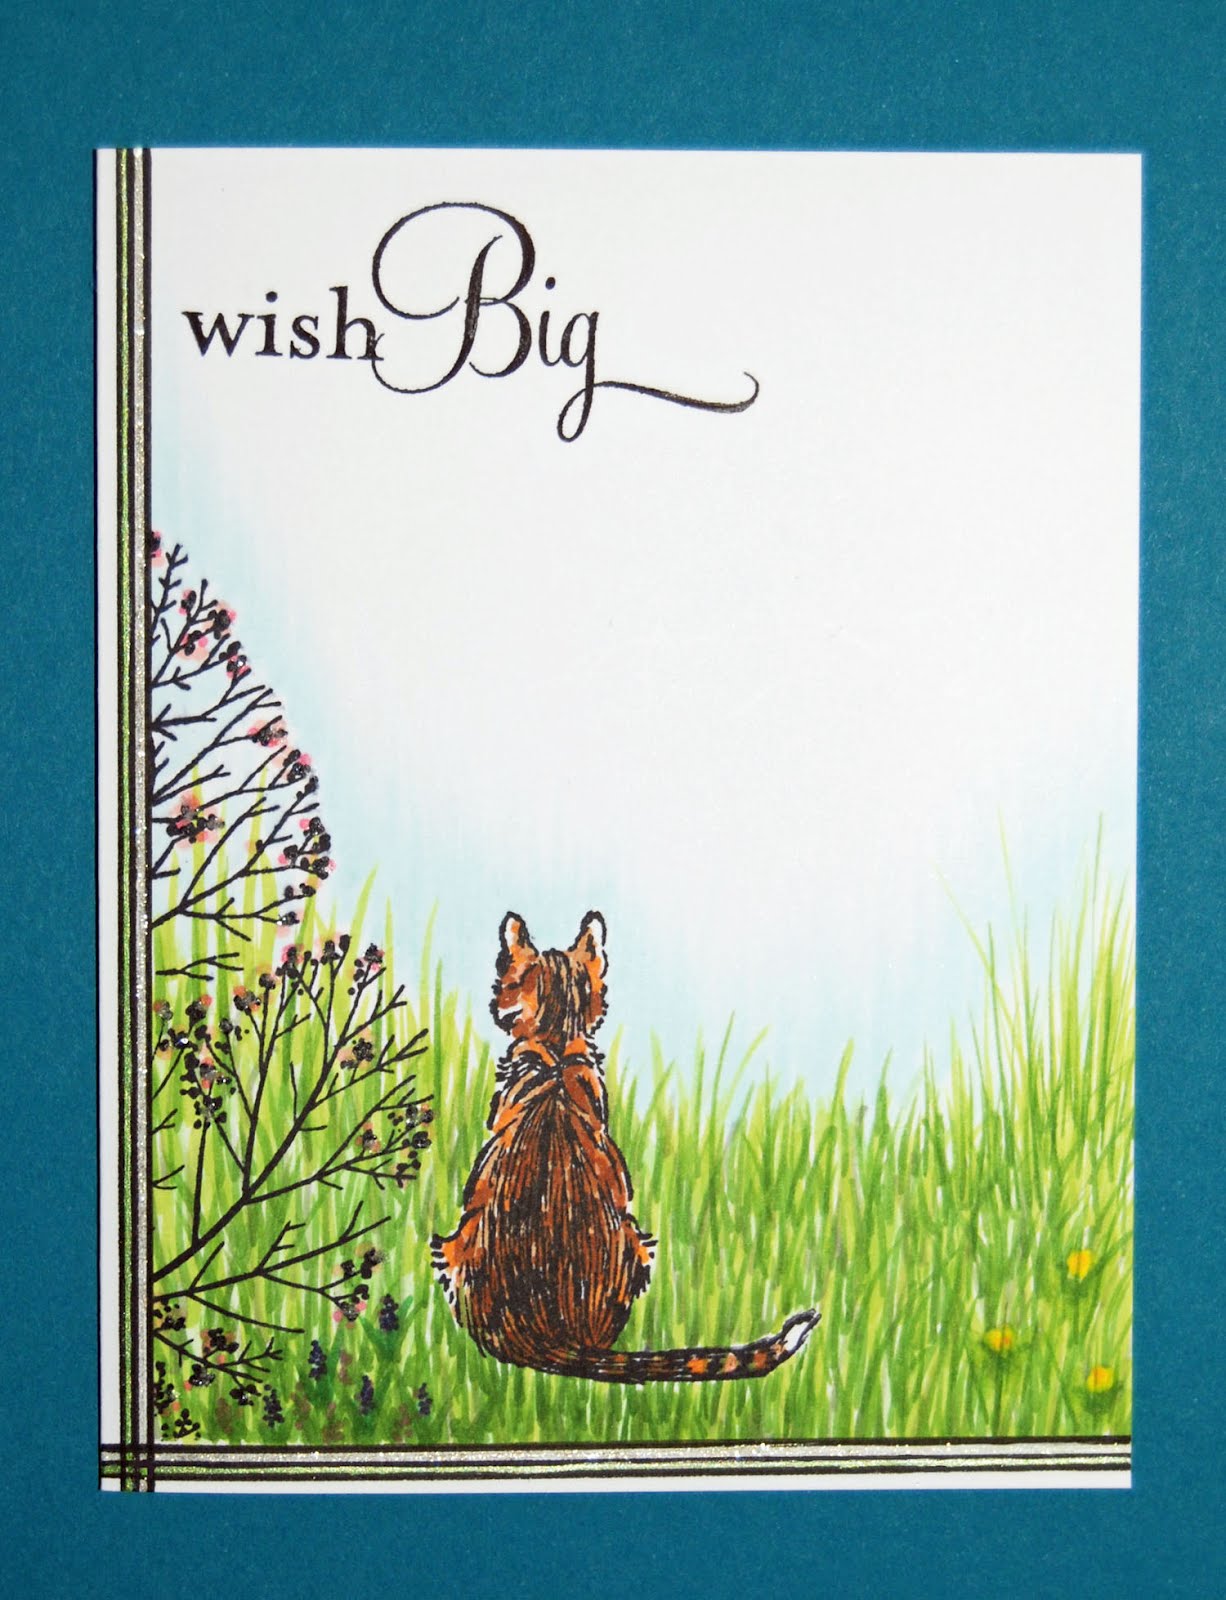
I started with a plain white 5 1/2" by 4 1/4" card made of Neenah card stock. In order to add a hand drawn background for this sweet little kitty, I started by creating a mask to cover the area where I intended to place the stamped image. I used an Avery Label Pad sticky note to create a mask. I love these sticky notes because they have a solid sticky area covering the entire back of the note. I also masked off the left side and bottom of the card in order to add some detail afterward. Once I had the masks in place, I used my Copic markers to draw a grassy field as a backdrop for the cat. Once I was happy with the background, I removed the mask and stamped the cat image, using an adorable stamp from The Stamp Barn. I stamped an image with a Stampscapes rubber stamp. This is a terrific stamp and has many uses. On this card, I used it to create a bush and added a little colour to give the impression of a flowering Spring plant. I added some colour to the cat and made her look like a calico in memory of my sweet little cat, Sunny that passed away several years ago. I added some detail with a fine black Copic Multiliner and then added a bit of colour with a couple of Gelly Roll sparkle pens along the left side and the bottom edges. I added a sentiment from Papertrey Ink from their Script Sentiments set and as a final touch (although I'm not sure you can see it in the photo), I added a tiny bit of Ranger Rock Candy Distress Stickles on the flowers of the bush.

Hope you like it!

Until next time,

Tuesday 17 April 2012

April Showers

Here in Midland, Ontario we've had a very strange spring. We keep thinking we're about to have stormy weather - thunder, strong winds, dark skies . . . . and then no rain. We certainly could use some, but now they are forecasting the possibility of snow! Well, I'm hoping for some April showers to help bring some spring flowers. That just happens to be the theme of the Simon Says Stamp Challenge this week - how appropriate!

Here is my entry for the challenge. I just love House Mouse designs and this one is just so spring-like! The image was coloured with Copics, cut with a Spellbinders Nestabilities die and mounted on a violet background, which I cut with a Nellie's Multi Frame Die. The round card was cut from some beautiful glazed patterned paper and heavier Papertrey Ink card stock using a Martha Stewart circle cutter. I simply scored and glued a small section off to one side to create a hinge to allow the card to open. I tied some lovely, soft mauve seam binding ribbon to make a bow and added a few pearls for a touch of bling. Although it doesn't really show in the picture, I used some Ranger Rock Candy Distress Stickles on the water droplets for a little bit of sparkle.


Until next time,