Monday, 30 September 2013

In Sympathy

Unfortunately, we had a recent death in our family that prompted me to make a group of Autumn themed sympathy cards.  I was quite pleased with the finished cards and so have decided to share them through my blog.

The first card was embossed with a gorgeous embossing folder from Melissa Francis.  I added a dark brown border to accentuate the  texture created on the craft coloured Neenah desert storm cardstock.  The leaves were cut using the Impression Obsession "Leaves" die set.  I added a wooden button and a twine bow to draw the leaves together.  The sentiment is stamped with Versafine Onyx Black ink and embossed with Tsukineko clear embossing powder.  This sentiment is from the Avery Elle "Oh Happy Day" set - one of my favourites.


The second card is also made with Neenah desert storm cardstock.  The leafy strip was created using heavy watercolour paper which was stamped and white embossed with stamps from an Inkadinkado Clings set called, "Fall Leaves".  I used sponge daubers and Distress Inks to add colour to the leaves and then misted the entire piece with a mixture of Perfect Pearls powder "Biscotti" and water.  This caused the colours to run and blend into together and added a beautiful shimmery finish.  I added layers of rust and green cardstock behind the watercolour paper to make the focal point pop, then added a twine bow and simple tag.  The sentiment is from Stampin' Up.


The third card is very dimensional, with raised punched maple leaves.  To create the beautiful variegated colour on the leaves, I applied warm colours of Distress inks with sponge daubers onto watercolour paper and misted them with Perfect Pearls "Biscotti" and water before punching them out using a small Fiskars leaf punch.  Before gluing the leaves onto the card, I formed them using my pergamano tools and pad.  The branch was created by piecing together several branches cut with a Memory Box die called "Twig and Berries".


I am entering the cards in the Simon Wednesday Challenge Blog. The theme this week is "Anything Goes".  If you haven't checked out this challenge blog, you should give it a look.

Until next time,


Saturday, 7 September 2013

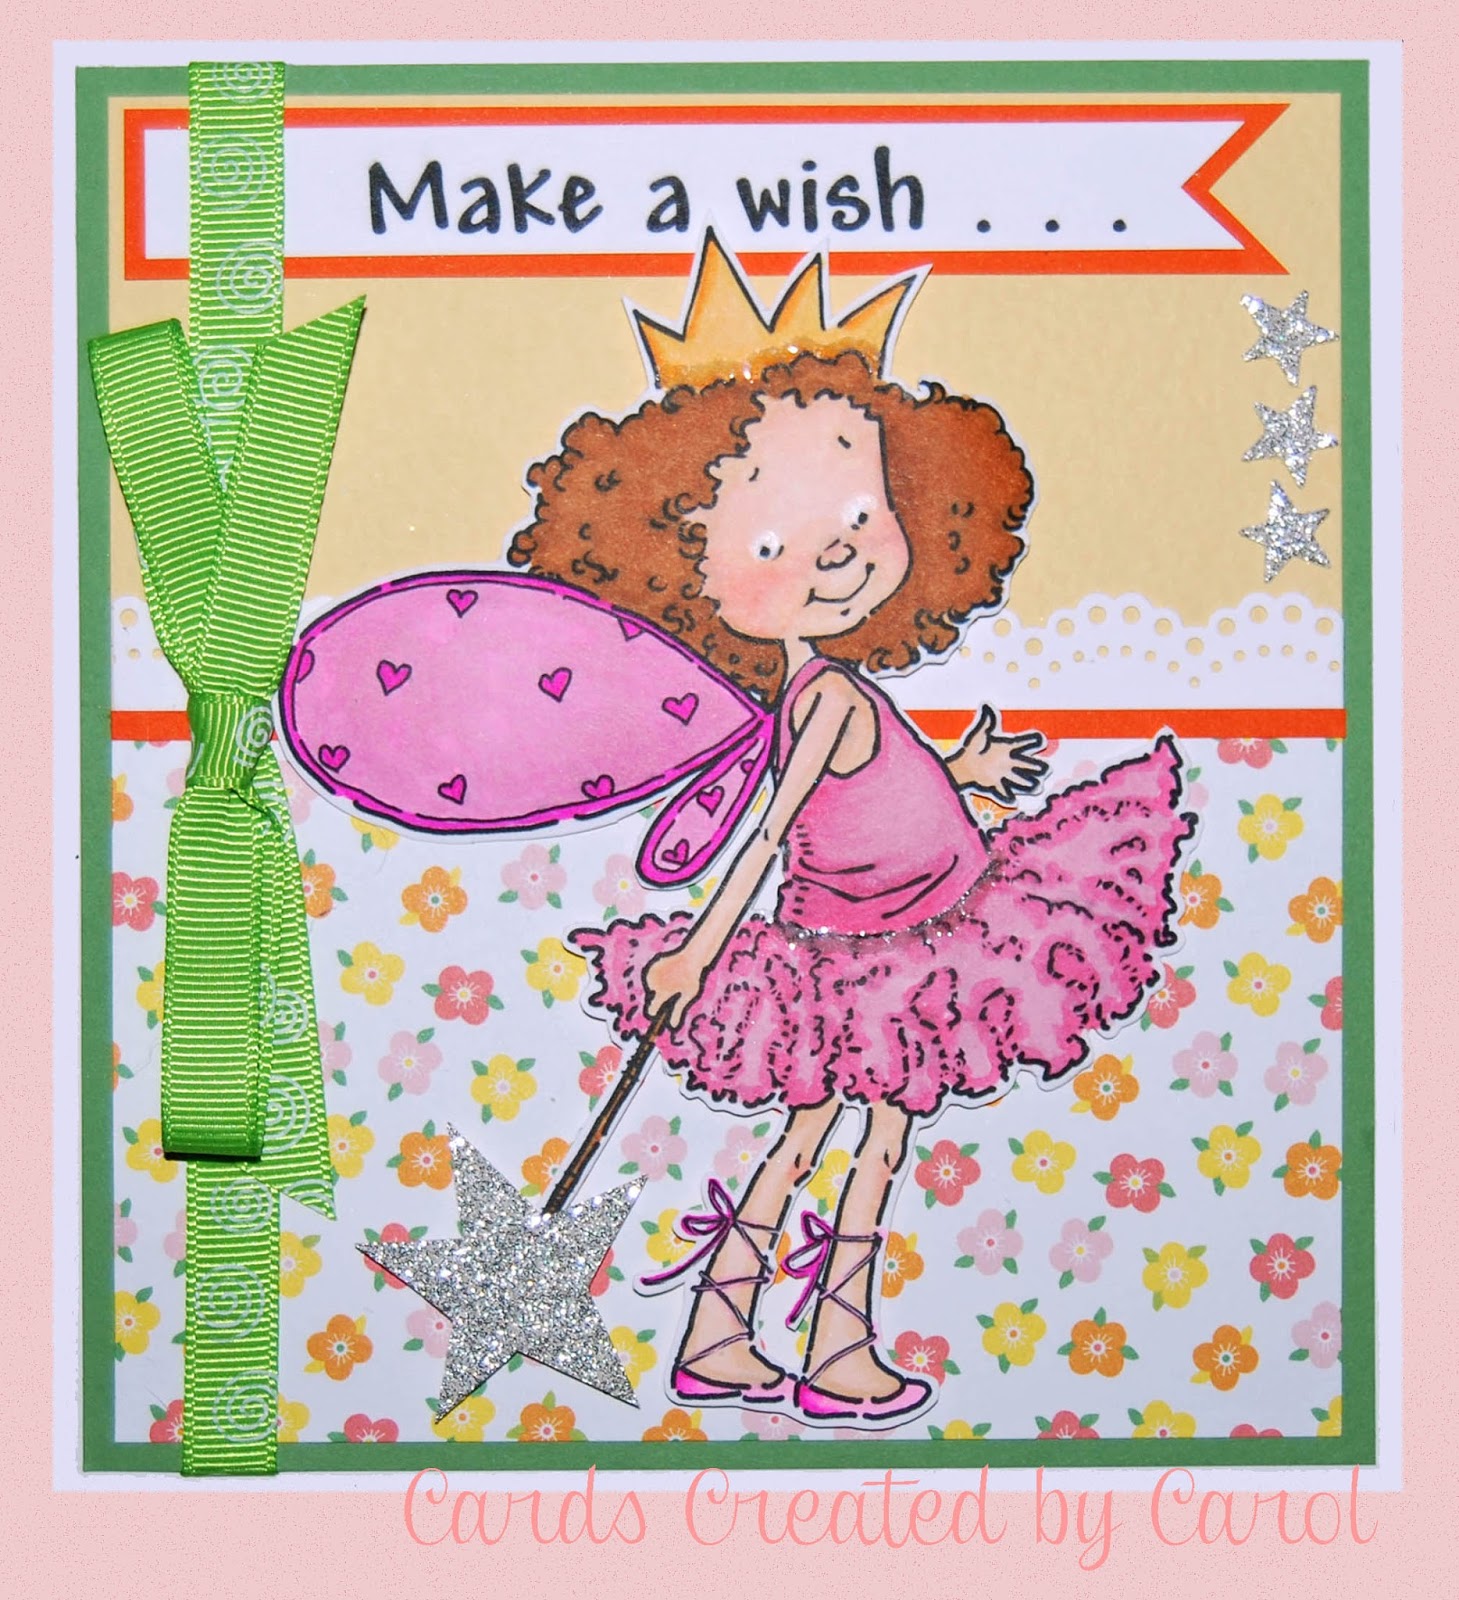
Birthday Fairy

Who wouldn't want to have a birthday wish granted?  Well, this little sweetie just might just be able to do that!  Don't you just love this Mo Manning digital image?


This image is from Mo's Fairy Princesses.  I think it is perfect for any little girl's birthday card.  On this card, I coloured the image using Copic markers and added some sparkle with a star cut from Stampin' Up silver glimmer paper, and some Tim Holtz Rock Candy Distress Glitter on her crown and at her waist.  The super cute floral pattern paper is from Lawn Fawn's Pink Lemonade Petite 6 x 6 paper pack. 

Mo's Digital Challenge this week is "Anything Goes", and I'll be entering this card in the draw.

Until next time,


Sunday, 28 July 2013

Summer Card Camp 2

As I mentioned in a previous post, I have been taking part in an Online Card Class entitled Summer Card Camp 2.  Here is another one of the cards I made for the class.


This card features several different die cuts including "Fresh Cut Grass" from My Favorite Things, and "Wonderful Watering Can" from Memory Box.  The tiny spade was actually a tiny boat cut with "Sporty Boats" from Memory Box.  I added a handle made from a wooden cocktail pick, which I cut, flattened and sanded, then coloured with Identi-pens in red and black, and a silver gel pen.  I double heat embossed the watering can with Ranger tarnished gold embossing powder.  I decided it looked too "clean", so I added touches of rust using Antiquities Rust embossing powder, and dirty smudges with Adirondack Espresso embossing powder.  I hand cut the flower pots from a scrap of patterned paper and added leaves using a Martha Stewart punch and tiny flowers cut with the "Flower Mound" die from Memory Box, which I shaped with a stylus.  The layers of soil were made of torn cardstock and the greeting is from "Happy Messages" by Stampendous.  As a finishing touch, I added some clouds by dabbing the paper with a Picket Fence Distress Dauber. Although the photo doesn't really show the dimension of the card, there is a great deal of depth and texture.  Hope you like it.

Until next time,


Friday, 26 July 2013

Summer Fun

I recently made these cards to teach at a class for the Georgian Bay Cancer Support Centre.  I really enjoy working with the group of ladies (and sometimes guys) at the centre.  Being a cancer survivor myself helps me to understand the kind of challenges these wonderful people are having to deal with and hopefully I can offer some hope as a 13 year survivor.  I really like to make cards that bring a little fun to the table and these two really fit that bill.

When I saw that the Simon Says Stamp Challenge this week was "Summer Food and/or Drink", I thought I'd enter these cards into the challenge.  What is more refreshing for the summer than a glass of ice cold lemonade and a slice of watermelon?


For the first happy summer card, I used several Memory Box dies - "Summer Lemonade", "Petite Umbrella", and "Cherry Blossom".  I used several different pieces of summer paper from the Lawn Fawn Pink Lemonade petite paper pack to paper piece the lemonade, lemon slice, the umbrella, and the tablecloth.  I used a Martha Stewart punch to add the foliage.  The "Happy Summer" sentiment is from Lawn Fawn's "Happy Summer" stamp set.


The second card also features stamps from Lawn Fawn's "Happy Summer" set.  I absolutely love the watermelon slice and it was lots of fun to colour with my Copic markers.  I used 3 different colours of red (R24, R35, and RV29) and 2 shades of green (YG06 and G07) to achieve the effect I wanted.  The grassy fringe was cut with My Favorite Things' Die-namics "Fresh Cut Grass".   Aren't those little bitty ants adorable!  I particularly like the little guy stealing the slice.  The fun plaid paper is from the Pink Lemonade collection.  I added the green gingham ribbon to finish this summer fun.


Until next time,


Friday, 19 July 2013

Summer Card Camp 2

I am having great fun participating in the current Online Card Class, entitled Summer Card Camp 2.  As with the other Online Card Classes, this course is being run by the wonderful and talented Jennifer McGuire and Kristina Werner.  These ladies are absolutely incredible!  During the course I get all kinds of inspiration from their fabulous ideas, but also many more from the numerous guest instructors.  (Can you tell that I'm a big fan of their classes?)

Today was the fourth day of the second week of classes and Thursdays are "Challenge Days".  Kristina challenged the participants to create a card using this week's colour combination and also to make a non-holiday card with holiday products.  There were several gorgeous examples prepared by Kristina and the guest instructors.  Here is my take on the challenge:


 For this card I used the following colour combination:

In order to create the flowers, I use my Die-namics "Let it Snowflake" set of 3 snowflake dies.  I used my stylus and Pergamano pad to create flower-shaped snowflakes.  I layered each set of three snowflakes to form each flower head.  I hand cut the three stems for the flowers, then stamped and cut out a couple of leaves using a Hero Arts rubber stamp.  I decided that I wanted a watercolour background, which I created using Broken China and Salty Ocean Distress inks and water spritzed on my craft sheet.  I smooshed (is that a real word?) a piece of watercolour paper in the liquid ink, then dried it with my heat tool and dabbed the paper back into the liquid to add some texture and interest.  After the background was dry, I mounted the flowers on the paper.  I mounted the watercolour paper onto a piece of green cardstock to help keep it smooth and then mounted those layers onto a natural white, Neenah cardstock card base.  I stamped a Hero Arts sentiment from the "Everyday Sayings" set using Ranger Archival Sepia Ink.  As a finishing touch, I added a multi-looped bow using narrow chocolate-brown satin ribbon.

I hope to post more cards made for the Summer Card Camp 2 classes in the near future.

Until next time,